SEO
Expert
Author
Entrepreneur
Digital
Marketer
I'm Ludwig Makhyan
Ciao!
SEO Jedi with a knack for decoding search algorithms, transforming websites into organic traffic magnets, and mastering the art of SEO sorcery. 🔮✨
My Services
SEO Audits
Evaluating a website’s adherence to SEO best practices and identifying areas for improvement across site structure, content, and technical setup.
Training and Consulting
Providing training and ongoing consulting to help teams master SEO best practices and adapt to emerging trends.
SEO Forensics
Investigating sudden drops in traffic or rankings to diagnose issues and develop recovery strategies.
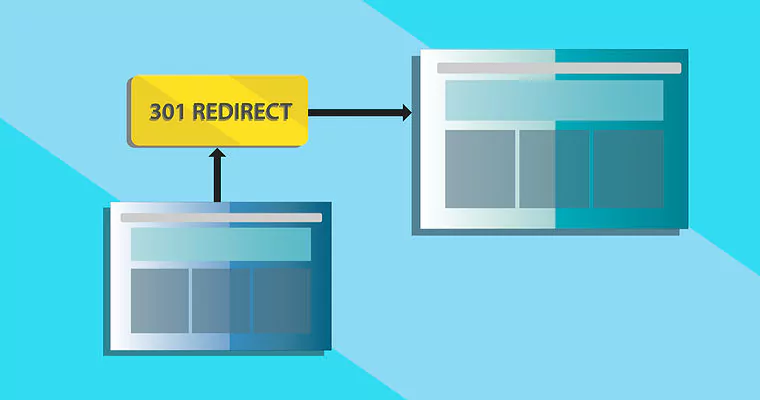
Website Migrations
Guiding and managing the process of moving a website from one domain or platform to another, ensuring minimal disruption to SEO performance and site functionality.
Optimization Support
Assisting the development team in enhancing webpage loading speeds and adapting the website for optimal mobile performance through responsive design and technical enhancements like image optimization.
Schema Markup Implementation
Enhancing search engine understanding and display of web pages by adding structured data to HTML.
Testimonials
"Ludwig is trully an amazing person to work with..."

Daniel Zayets-Volshin
CEO at Intermedia Ventures LLC"It is rare to find someone with his combination of business and emotional intelligence and Ludwig excels at both."

Jenna Franzese, SHRM-CP
Strategic People Leader"Ludwig's experience and skills are the real deal, and his deep expertise in SEO helped us make the right decisions where so many consultants would have given us the generic and wrong answer. "

Adam Nathan
CEO at BlazeAbout Me
I have worked in web development and digital marketing industry for over 20 years, ultimately gaining experience in B2C and B2B marketing, search engine optimization, web platform development, software development, pay-per-click and social media advertising.
I always strive to bring 100% to the work that I do, and my goal is to create customer focused and well optimized web solutions. I am passionate about innovation and out of the box ideas. It requires a strong combination of entrepreneurship, passion and efficiency to create a great new product.
I have years of expertise in Search Engine Optimization, web auditing, programming, project and product management, team leading, infrastructure development, technology solutions and Search Engine Marketing.